How to Cut on Cricut From an Uploaded Picture
This mail and photos may contain Amazon or other affiliate links. As an Amazon Associate I earn from qualifying purchases.If you purchase something through any link, Hello Creative Family may receive a small commission at no extra accuse to you. Any supplies used may be given to me free of charge, nonetheless, all projects and opinions are our own.
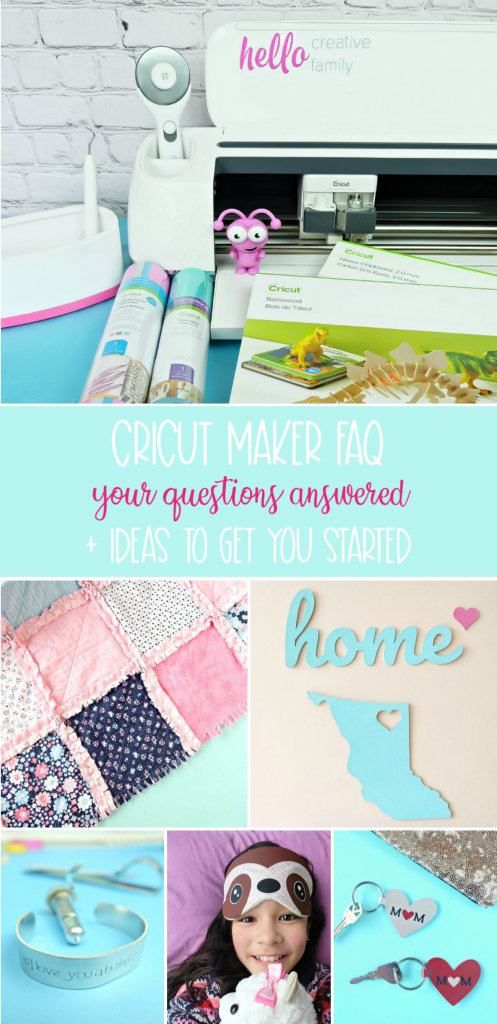
Are you a Cricut Beginner? Check out our Cricut Basics series! This free lesson will teach you how to upload cut files to Cricut Pattern Infinite including jpgs, svgs, pngs and more! Acquire to apply your Cricut like a pro!
Hullo Crafty Friends! I'g back with another add-on to my Cricut Basics serial! Today we are going to be talking nearly how to upload your own design files to Cricut Design Infinite!
One question I become asked all the fourth dimension is- What images tin can I cut with my Cricut cutting machine?
- You can cut images that you upload to Cricut Design Space– the image types that Design Space recognizes are JPG, GIF, PNG, BMP, SVG and DXF files. There are a lot of sites (like Hello Creative Family) that offering free SVG files too as items for auction in their shop (y'all tin see our shop here.) You can likewise purchase SVG files on sites similar Etsy.
- You can cut images bachelor from Cricut Admission— You take the choice to sign upwards for Cricut Access which gives yous access to over 100,000 images and hundreds of fonts. Yous can pay for Cricut monthly or yearly. A membership also gives yous a discount on everything yous buy from Cricut. Read more than in my postal service about Cricut Access here.
- Purchase images from Cricut– You also have the pick of paying for individual images through Cricut Pattern Infinite which gives you lifetime access to them. Almost Cricut images cost between $0.99 and $4.99.

How To Get A Cut File Into Cricut Design Infinite
If you buy an image through Cricut Design Infinite or Cricut Admission you will automatically have access to information technology, no upload necessary! However if you lot purchase or download images from elsewhere or create your own images you will need to upload them to Design Space.
The well-nigh common cut file extensions y'all are going to detect are SVG, PNG and JPG. Beneath I'm going to walk you through, step by step, how to upload the these three most common cutting files extensions to Cricut Design Space. I'k also going to teach y'all how to upload a Print and Cut prototype.
How To Upload an SVG to Cricut Design Space

- Click on Upload in the left-manus toolbar of Design Space.
- Click Upload Image, and then select your cut file from your calculator.
- With an SVG file, the designer has already done all the work of creating unlike layers and telling the design file where to cut. All you demand to practise now is name your blueprint and save it! Cricut also allows yous to create tags for your blueprint so that yous can find it easily in the future.
- After you salvage your image, you'll be taken to a screen where you see all of the images that you have uploaded. Click the image you would like to use and then click Insert Image.
How To Upload a PNG to Cricut Design Space

- Click on Upload in the left-hand toolbar.
- Click Upload Prototype, so select your cut file from your computer.
- Choose whether your pattern is elementary, moderately circuitous, or circuitous. For most designs, I detect that simple works fine for virtually designs unless yous are planning a Print and Cut project. Click Keep.
- If your PNG has a transparent background, then the piece of work volition all exist done for selecting the areas that you want cutting. If not you will have to click in all the white areas where you lot don't want your pattern to be.
- Click Proceed and and then relieve your image as a cut file. Later you save your image, you'll be taken to a screen where you lot come across all the images that you have uploaded. Click the image you lot would like to apply and and so click Insert Prototype.
How To Upload a JPG to Cricut Design Space

- Click on Upload in the left-hand toolbar.
- Click Upload Image, then select your cutting file from your computer.
- Choose whether your design is simple, moderately circuitous, or complex. For most designs, I find that simple works fine unless I want to use it every bit a Print and Cutting image. Click Go on.
- Click on the areas of the epitome that you want to remove. Since the background isn't transparent, y'all volition need to tell the Cricut where to cut.
- In this case, of the photo above I clicked on the area to the exterior of the design, then started clicking on the white spaces inside of the hand signing the letter A. Y'all would want to practise this with all of the white spaces so inside each paw, each piece of finger, and the letters in DREAM.
- Click the Preview push to see what your cut file will look like and to brand sure you lot haven't missed any areas. Click Hide Preview to go back to the regular view.
- Click Go on so save your image every bit a cut file.
- Later you save your image, you'll exist taken to a screen where you can see all the images that you have uploaded. Click the image you would similar to use and then click Insert Image.

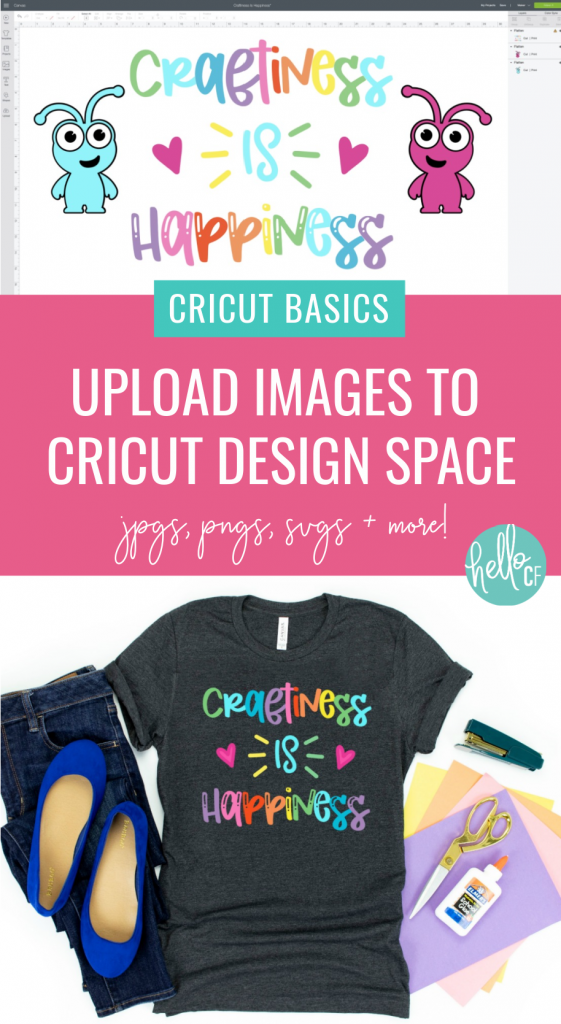
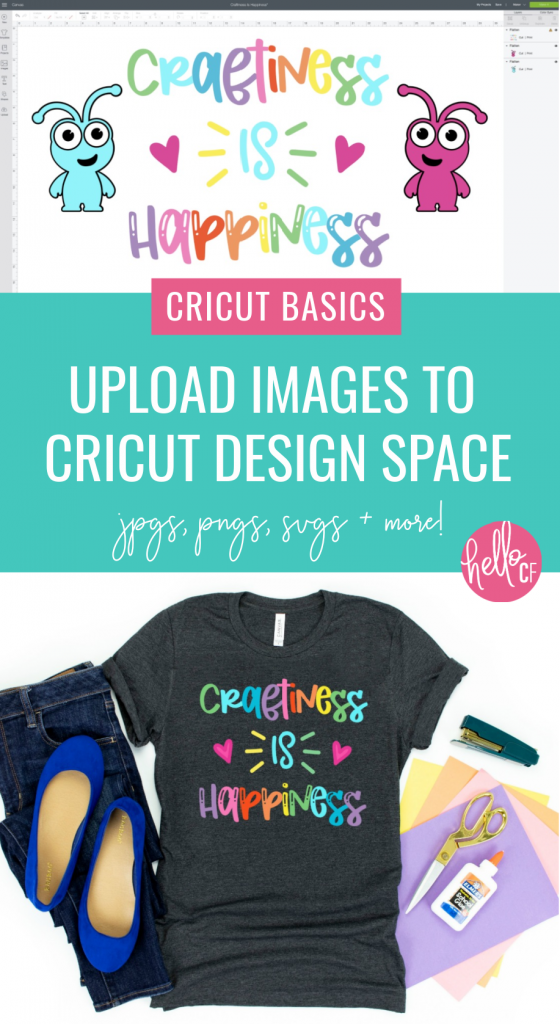
Annotation: If y'all are wanting to upload a cut file with multiple layers (aka unlike colors similar the above Craftiness Is Happiness Cut File) yous will want to upload an SVG file where the designer has already separated all of the colors and created layers for you. Detect our Craftiness is Happiness cutting file here.
When uploading a jpg or png y'all will accept a unmarried colour design, unless you save information technology as a Print and Cut file where your printer prints the paradigm and and so your Cricut cuts it.
How to Upload a Print and Cut Image to Cricut Design Space

- Click on Upload in the left-hand toolbar.
- Click Upload Image, then select your cut file from your estimator. I'k sharing how to do this with a jpg paradigm.
- Choose "Complex", so click "Continue".
- Click on the areas of the prototype that you desire to remove. Since the groundwork isn't transparent in a jpg, y'all will need to tell the Cricut where to cutting.
- In this instance, of the photo in a higher place I clicked on the expanse to the exterior of the design. I decided that with the complexity of the design that I want the hands to impress as white and so I didn't click inside them. I clicked in the center of the "o" sign and so that section is cut out.
- Click the Preview push to come across what your cut file will look like and to brand sure you haven't missed any areas. Click Hide Preview to become back to the regular view.
- Click Continue and so save your image as a print and cut file.
- Afterward you save your image, you'll be taken to a screen where yous can encounter all the images that you take uploaded. Click the paradigm you would like to use and and so click Insert Image.
- Annotation: The maximum cut area for Impress and Cut is 9.25″ X six.75″. Y'all can size your images accordingly in Cricut Pattern Infinite.
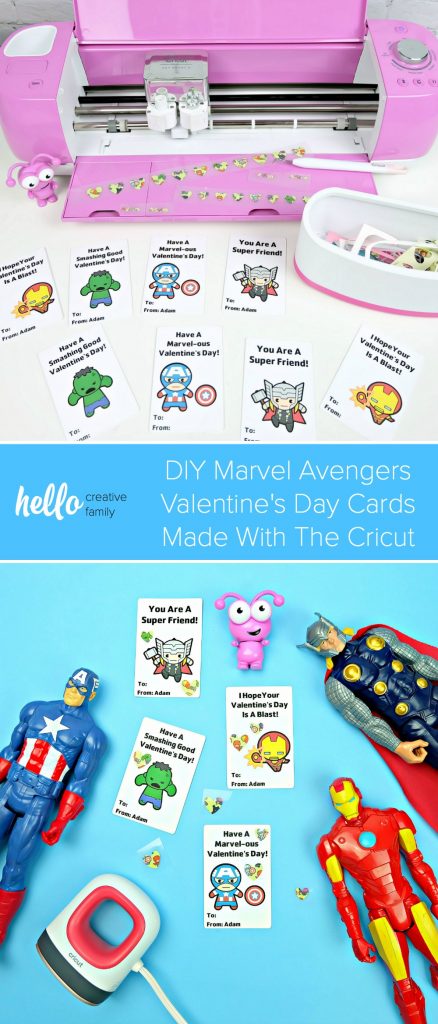
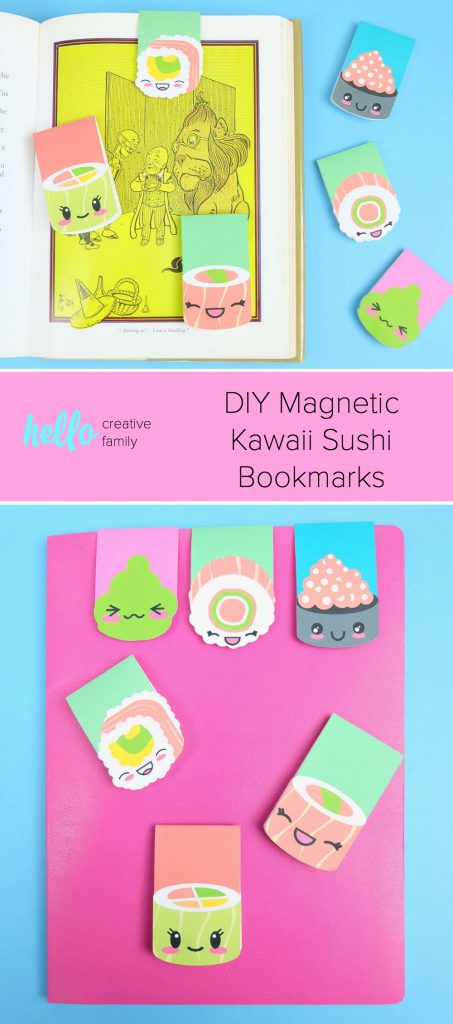
Here are a few examples of Print and Cut projects:


And there y'all have it! That'due south how y'all upload the most common image types to Cricut Design Space!
Want to make sure that y'all stay up to appointment on all our Cricut crafts and tutorials? Sign up for our Cricut newsletter beneath and we'll send yous some awesome freebies straight to your inbox!
![]()

Need supplies to make all your astonishing Cricut creations?Click here for the all-time prices on Cricut cutting machines, bundles, iron-On, vinyl, cardstock and mor east!
Tell me… Are you a cut file collector? What Cricut Nuts topics would you lot like to see me cover in this series?
If you like this Cricut Nuts: How To Upload Images To Design Space post I would love for you lot to pin it or share information technology on social media. It helps others detect our site, which helps us to continue to bring you awesome free content!
If you similar this post, brand sure to check out some of our other Cricut Nuts lessons below!


join the creative family unit!
Quick & piece of cake crafts straight to your inbox!
![]()
Reader Interactions
Source: https://hellocreativefamily.com/cricut-basics-how-to-upload-images-to-design-space/
Post a Comment for "How to Cut on Cricut From an Uploaded Picture"